New carpet can make a room feel warmer, quieter, and more finished. It can soften a basement family room, add comfort to a primary bedroom, or bring a sense of continuity to an entire second floor. Before any of that can happen, however, the space has to be measured correctly.
Measuring for carpet may appear straightforward. You measure the length, multiply it by the width, and purchase that amount of material. In practice, a dependable carpet estimate requires more thought. Closets, alcoves, doorways, stairs, carpet roll widths, pattern direction, seam locations, and installation waste all affect the final quantity.
A measurement that is only a few inches short can create significant complications. It may force an installer to add an unnecessary seam, alter the carpet direction, or order additional material from a different dye lot. At Morganco Design Build, we approach material planning with the same care we bring to framing, cabinetry, tilework, and finish carpentry. Good craftsmanship begins well before installation. It begins with precise information and a clear plan.
This guide explains how to measure for new carpet step by step, including how to handle irregular rooms, closets, stairs, padding, waste allowances, and carpet roll sizes.
How Do You Measure a Room for a New Carpet?
To measure a room for new carpet, measure the room at its longest and widest points, multiply those dimensions to determine the square footage, and then add an appropriate allowance for seams, trimming, carpet direction, and installation waste.
For a basic rectangular room, use this formula:
Room length × room width = total square footage
For example, a room that measures 15 feet long by 12 feet wide contains:
15 × 12 = 180 square feet
That calculation provides the room’s basic floor area. It does not necessarily tell you exactly how much carpet to order.
Most residential carpet is manufactured in fixed roll widths, commonly 12 feet. The installer must determine how those widths will fit into the room, where seams may be necessary, and how the carpet should be oriented. A 180-square-foot room may require more than 180 square feet of carpet once those factors are considered.
The Basic Carpet Measurement Formula
When measuring one rectangular space, follow these basic steps:
Measure the longest wall.
Measure the widest wall.
Round each measurement up to the next whole foot for an initial estimate.
Multiply the rounded length by the rounded width.
Add material for waste, trimming, and seam layout.
If a room measures 11 feet 7 inches by 13 feet 3 inches, do not base your preliminary material estimate on 11 by 13 feet. Those shortened dimensions would leave the installation undersized.
For a homeowner’s working estimate, round the dimensions up:
12 feet × 14 feet = 168 square feet
A professional installer may calculate the material more precisely based on the carpet width and room layout, but rounding up helps prevent accidental underestimation during the early planning stage.
Why Carpet Measurements Include More Than Floor Area
Carpet is not poured or assembled from small individual pieces. It arrives in large rolls and must be cut to fit the room. That makes carpet layout different from calculating paint coverage or counting individual floor tiles.
The final material requirement may be affected by:
Standard carpet roll width
Pattern direction
Pile direction
Door openings
Closets and alcoves
Room transitions
Seam placement
Stair dimensions
Installation trimming
Pattern matching
Irregular walls
Built-in cabinetry or architectural projections
In many Greater St. Louis homes, rooms are not perfectly square. Older properties in areas such as Webster Groves, Kirkwood, University City, and the Central West End may include plaster walls, angled corners, deep window bays, radiator recesses, or additions built during different periods. Even newer homes can include tray walls, offset closets, fireplaces, and open transitions that complicate carpet layout.
The goal is not merely to cover the floor. The goal is to install the carpet with clean edges, sensible seams, consistent direction, and a finished appearance that suits the architecture of the room.
Tools You Need to Measure for Carpet
Accurate carpet measurements do not require an extensive tool collection, but the tools should be dependable. A stretched tape measure, unclear sketch, or misplaced decimal can affect the entire order.
Essential Measuring Tools
Gather the following before beginning:
A 25-foot or longer tape measure
Graph paper or plain paper
A pencil with an eraser
A calculator
A straightedge
A clipboard or firm writing surface
A laser measuring device can also be useful, especially in large rooms. It should still be checked against a tape measure in tight spaces, around trim, and near irregular wall conditions.
Measure from wall to wall rather than from baseboard to baseboard whenever possible. Baseboards and shoe molding sit above the flooring and may slightly reduce the visible dimension. Carpet is normally installed beneath the edge of the baseboard or against tack strip positioned near the wall, so the full structural room dimension is the more useful measurement.
Helpful Tools for Complicated Floor Plans
For larger remodeling projects, additional tools may improve accuracy:
Laser distance measurer
Digital angle finder
Long level
Chalk line
Camera or smartphone
Floor-plan software
Photographs can be particularly helpful. Take a wide photograph of each room and additional images of closets, transitions, stairs, floor vents, fireplace hearths, and unusual corners. Match the photographs to your room sketch so important details are not overlooked later.
This is the same principle we use throughout design-build work: documentation prevents guesswork. A clear record helps the designer, material supplier, installer, and homeowner remain aligned.
Step 1: Sketch the Room and Divide It Into Sections
Begin with a simple overhead sketch of the room. The drawing does not need to be perfectly scaled, but it should show the general shape of the floor and every area that will receive carpet.
Include:
Main walls
Door openings
Closets
Window bays
Alcoves
Fireplace hearths
Built-ins
Floor registers
Adjoining hallways
Stair openings
Changes in flooring material
Label each wall or section so the corresponding measurement can be recorded clearly.
Measuring Rectangular Rooms
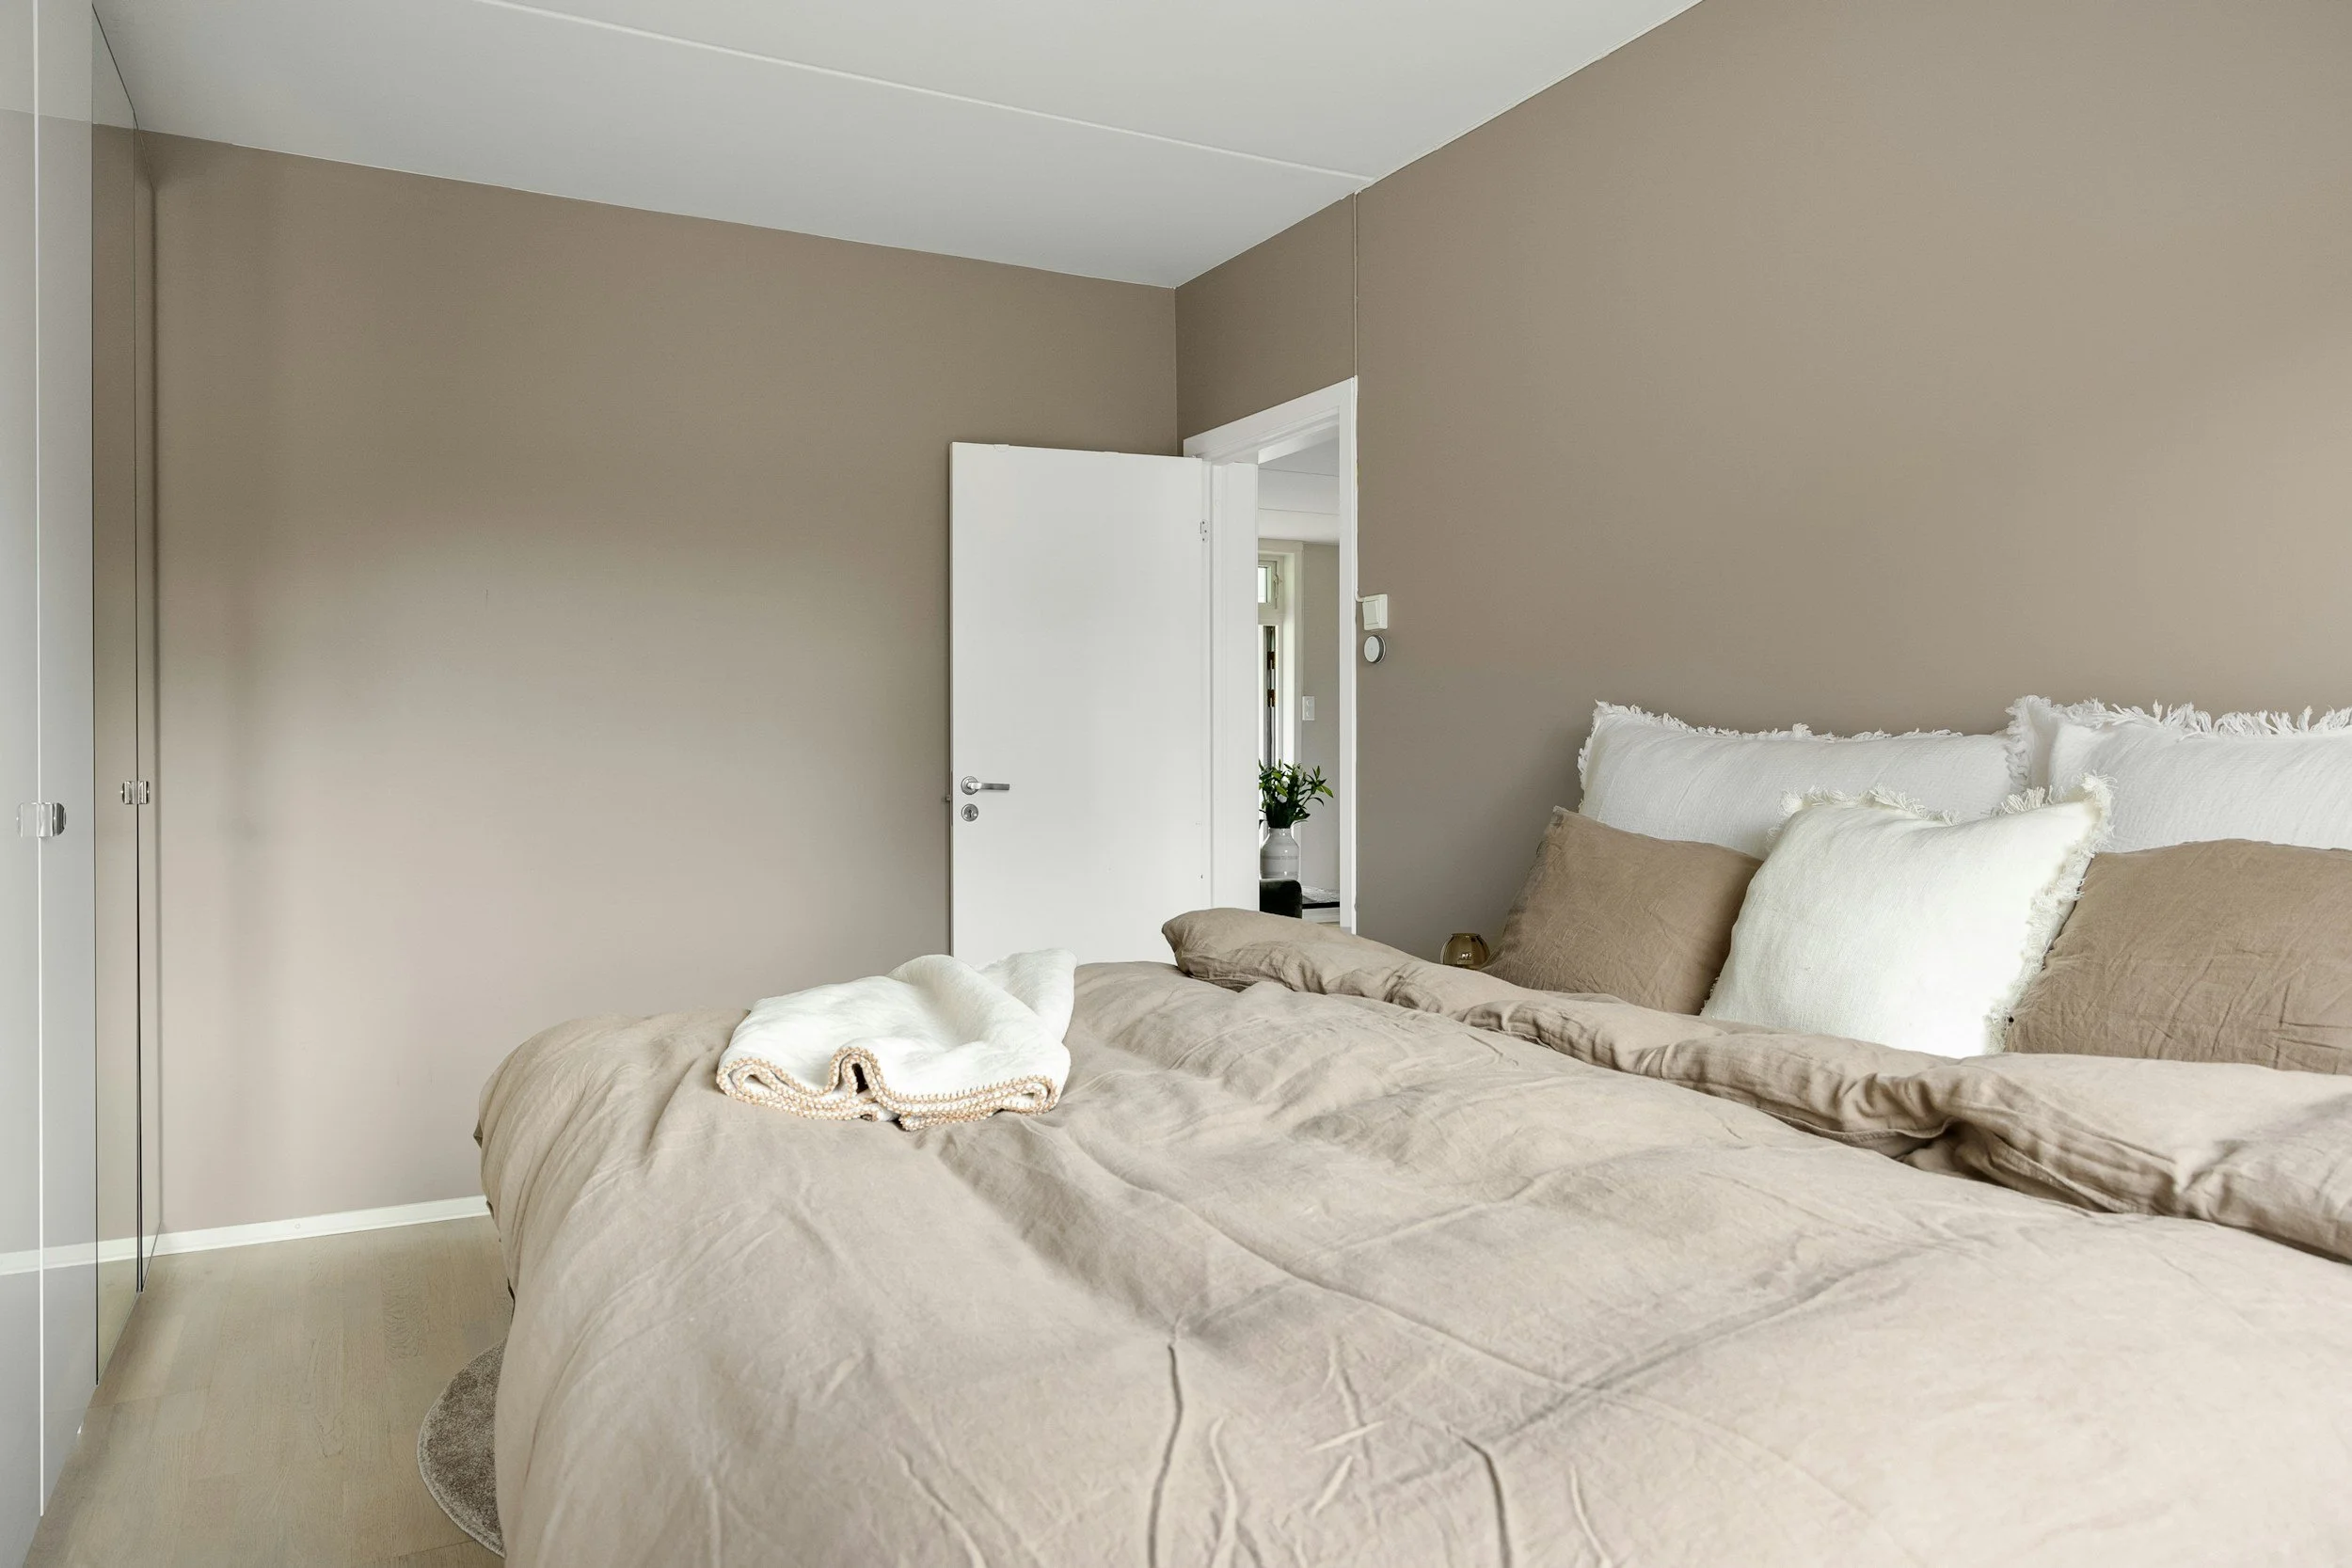
A simple rectangular bedroom may require only two primary dimensions: length and width. Even in a basic room, measure more than one location.
For example, measure the width near both ends of the room. Then measure the length along each side. Walls that appear parallel may differ slightly, especially in an older home.
Use the largest recorded dimension when estimating material. Carpet can be trimmed during installation. It cannot be stretched across a significant shortage without compromising the work.
Breaking Irregular Rooms Into Manageable Shapes
For an L-shaped room, divide the floor plan into two rectangles. Measure each rectangle separately, calculate the square footage of each, and add the totals together.
Suppose an L-shaped basement room contains:
Main area: 18 feet × 14 feet
Extended seating area: 8 feet × 6 feet
The calculations would be:
18 × 14 = 252 square feet
8 × 6 = 48 square feet
252 + 48 = 300 square feet
This provides the basic floor area. The carpet order may still need to be larger because of roll width and seam placement.
Use the same approach for rooms with window bays, small extensions, or recessed areas. Divide the room into simple geometric sections rather than trying to calculate the entire irregular shape at once.
Step 2: Measure the Room’s Length and Width
Measure each room carefully, even when you have architectural plans. Plans may not reflect later renovations, finish thicknesses, framed chases, or minor field adjustments made during construction.
Measure From the Widest and Longest Points
Place the tape measure against one wall and extend it to the opposite wall. Keep the tape straight and level.
Measure the room’s:
Longest overall length
Widest overall width
Width at both ends
Length along both sides
Depth of any recesses
Width of every opening
Do not subtract space occupied by floor vents or small architectural features. Carpet is installed around these elements, and material is still needed to reach them.
Large permanent features may be treated differently. A masonry fireplace hearth, built-in cabinet base, or fixed kitchen island will not receive carpet. Mark these features on the drawing and allow the installer to determine how they affect the layout.
Record Measurements in Feet and Inches
Write down exact field measurements before rounding.
For example:
Room length: 14 feet 8 inches
Room width: 11 feet 10 inches
Then create a rounded working measurement:
15 feet × 12 feet
Recording both figures gives the installer useful information while preserving a safe preliminary estimate.
Avoid recording measurements as decimals unless you are comfortable converting inches accurately. A notation such as 12.6 feet does not mean 12 feet 6 inches. It means 12 feet plus six-tenths of a foot, which equals 12 feet 7.2 inches.
Feet-and-inches notation is usually clearer for residential field measurements.
Step 3: Account for Closets, Doorways, and Small Alcoves
Closets and recessed areas are easy to overlook because they feel separate from the main room. They still require carpet and may influence the direction in which the material is installed.
Measuring Closets
Measure each closet at its maximum width and depth. Include the full interior floor area, not only the portion visible through the doorway.
A reach-in closet may appear shallow from the room but extend behind both sides of the opening. Measure wall to wall inside the closet.
For a walk-in closet, treat it as a separate room:
Sketch the closet.
Measure its longest and widest points.
Note shelving units or built-in cabinetry.
Record the doorway width.
Identify the preferred carpet direction.
Matching the carpet direction between the bedroom and closet often produces the cleanest visual transition. The installer may use a seam at the doorway or continue a single section into the closet, depending on the dimensions and material layout.
Including Door Openings and Recessed Areas
Measure through doorways to the point where the carpet will transition to another flooring material.
For example, carpet in a bedroom may meet hardwood in the hallway. The actual transition could fall beneath the closed door, at the face of the jamb, or at a defined threshold. That location should be planned rather than assumed.
Include small recessed spaces such as:
Dormer alcoves
Window seats with open floor area
Vanity recesses
Reading nooks
Under-stair areas
Linen closet floors
Built-in desk openings
These details may represent only a few square feet, but they matter when the carpet is being cut from a fixed-width roll.
Step 4: Calculate the Room’s Square Footage
Once each section has been measured, calculate the basic square footage.
Square Footage Formula
For every rectangular section, use:
Length × width = square footage
Add the square footage of all carpeted sections.
For example:
Bedroom: 15 feet × 13 feet = 195 square feet
Closet: 6 feet × 4 feet = 24 square feet
Window alcove: 5 feet × 2 feet = 10 square feet
Total floor area: 229 square feet
This total is the room’s usable carpeted area before waste and layout considerations.
Example Carpet Calculation
Consider a finished basement in Chesterfield with a main recreation area, a short hallway, and a storage closet:
Recreation room: 22 feet × 16 feet = 352 square feet
Hallway: 10 feet × 4 feet = 40 square feet
Closet: 6 feet × 5 feet = 30 square feet
Basic total: 422 square feet
A homeowner might be tempted to order exactly 422 square feet. That would leave no allowance for trimming, seam construction, carpet direction, or irregular walls. A professional material plan would examine how each section fits within the carpet’s manufactured width before determining the order quantity.
Step 5: Add Extra Carpet for Waste and Installation
Every flooring installation requires some degree of material allowance. Carpet must be cut slightly oversized, positioned, stretched, and trimmed neatly along the perimeter.
Why Carpet Requires a Waste Allowance
Extra material may be needed for:
Perimeter trimming
Irregular walls
Seams
Pattern matching
Pile direction
Closets
Door openings
Installation damage
Future repairs
A room with several offsets can require more waste than a simple rectangle. Patterned carpet can require considerably more because the pattern must align across seams.
The waste factor should not be viewed as careless excess. It is part of planning a controlled, professional installation.
How Much Extra Carpet Should You Order?
For a straightforward room, homeowners often use a preliminary allowance of approximately 10% over the measured square footage. Complicated layouts, patterned carpets, stairs, and rooms wider than the carpet roll may require more.
Using the earlier 229-square-foot bedroom example:
229 × 1.10 = 251.9 square feet
The preliminary estimate would be approximately 252 square feet.
This percentage is only a budgeting tool. It should not replace a roll-layout calculation. A room’s dimensions may cause the actual order to differ significantly from a simple percentage-based estimate.
It is also wise to keep a usable remnant after installation. A remnant from the original dye lot can be valuable if a small area is stained or damaged in the future.
Step 6: Consider Carpet Roll Width and Seam Placement
This is where carpet measurement becomes more technical. Knowing the square footage is important, but the carpet roll determines how that area can actually be covered.
Standard Carpet Roll Sizes
Many residential carpets are manufactured in 12-foot-wide rolls. Some products are available in wider or narrower formats, including 13-foot 6-inch and 15-foot widths.
Confirm the actual roll width of the selected carpet before finalizing the material quantity.
Consider a room that measures 14 feet by 14 feet. Its floor area is:
14 × 14 = 196 square feet
A 12-foot-wide roll cannot cover the 14-foot width in one piece. An additional section is needed, which creates a seam and may increase the total carpet order beyond 196 square feet.
Why Square Footage Alone Is Not Enough
Carpet is commonly priced by the square foot or square yard, but it is ordered as a length taken from a fixed-width roll.
To convert square feet to square yards:
Square feet ÷ 9 = square yards
For example:
252 square feet ÷ 9 = 28 square yards
Even so, an installer must still determine how many linear feet of the selected roll width are required. The most efficient layout is not always the one with the fewest square feet. It must also respect pile direction, pattern orientation, traffic flow, and room connections.
Planning Seams Around the Room
A well-planned seam should be placed where it is least noticeable and least likely to receive concentrated wear.
Whenever possible, avoid placing seams:
Through the center of a major walkway
Directly in front of a doorway
Across heavily lit areas where side lighting may reveal the seam
Beneath rolling desk chairs
At the edge of a stair landing
Through prominent focal areas
Furniture placement can help guide seam planning, but furniture should not be the only consideration. Rooms change over time. A seam should remain sensible even if the layout is rearranged.
Carpet pile also has a direction. Adjacent pieces must run consistently. Reversing one piece can make the carpet appear to be a different shade, even when it came from the same roll.
Patterned carpet requires another level of precision. The pattern must align across seams, and the installer may need additional length to create a proper match.
Step 7: Measure Stairs for New Carpet
Stair carpet adds comfort, sound control, and traction, but stairs require careful measurement. The carpet must cover multiple vertical and horizontal surfaces while maintaining a consistent fit from one step to the next.
Measuring Straight Staircases
For a fully carpeted straight staircase, measure:
Tread depth
Riser height
Stair width
Number of steps
Landing dimensions
The tread is the horizontal surface where the foot lands. The riser is the vertical face between treads.
A preliminary calculation for one step is:
Tread depth + riser height = carpet length per step
Multiply that number by the total number of steps, then add material for the top and bottom transitions, nosing, installation method, and trimming.
For example:
Tread depth: 10 inches
Riser height: 8 inches
Combined length: 18 inches
Number of steps: 13
18 inches × 13 = 234 inches
234 inches ÷ 12 = 19.5 linear feet
This is only a starting point. The carpet may need to wrap around the stair nosing, and the installation method will affect the material requirement.
Measuring Landings and Curved Stairs
Measure stair landings as separate rectangular or irregular areas. Record the width and depth at their largest points.
Curved, angled, pie-shaped, and open-sided stairs should be measured by an experienced flooring professional. Each tread may have a different dimension, and pattern direction becomes especially important.
Detailed stair work is a finish-carpentry environment. Carpet edges, railing bases, skirt boards, newel posts, and nosing profiles all meet in a small area. Precision at these intersections is what makes the result appear intentional rather than improvised.
Step 8: Calculate Carpet Padding
Carpet padding supports the finished flooring, improves comfort, helps absorb sound, and can extend the useful life of the carpet. It should be selected as carefully as the surface material.
Should Carpet and Padding Measurements Match?
Carpet padding generally covers the same floor area as the carpet, but padding usually creates less waste. It does not need to follow pile direction or pattern alignment, and smaller pieces can often be fitted together efficiently.
Calculate the basic carpeted floor area for padding, then include a modest allowance for trimming and room irregularities.
Do not install padding beneath:
Tack strips
Fixed cabinets
Masonry hearths
Floor-mounted built-ins
Areas excluded by the flooring manufacturer
The pad should fit neatly inside the tack strip perimeter without overlapping it.
Choosing the Right Carpet Pad
Thicker is not always better. Carpet manufacturers commonly specify acceptable pad density and thickness. A pad that is too soft or too thick may allow excessive carpet movement, stress the backing, and affect warranty coverage.
The right carpet cushion depends on:
Carpet construction
Room use
Traffic level
Desired firmness
Sound-control goals
Subfloor conditions
Manufacturer requirements
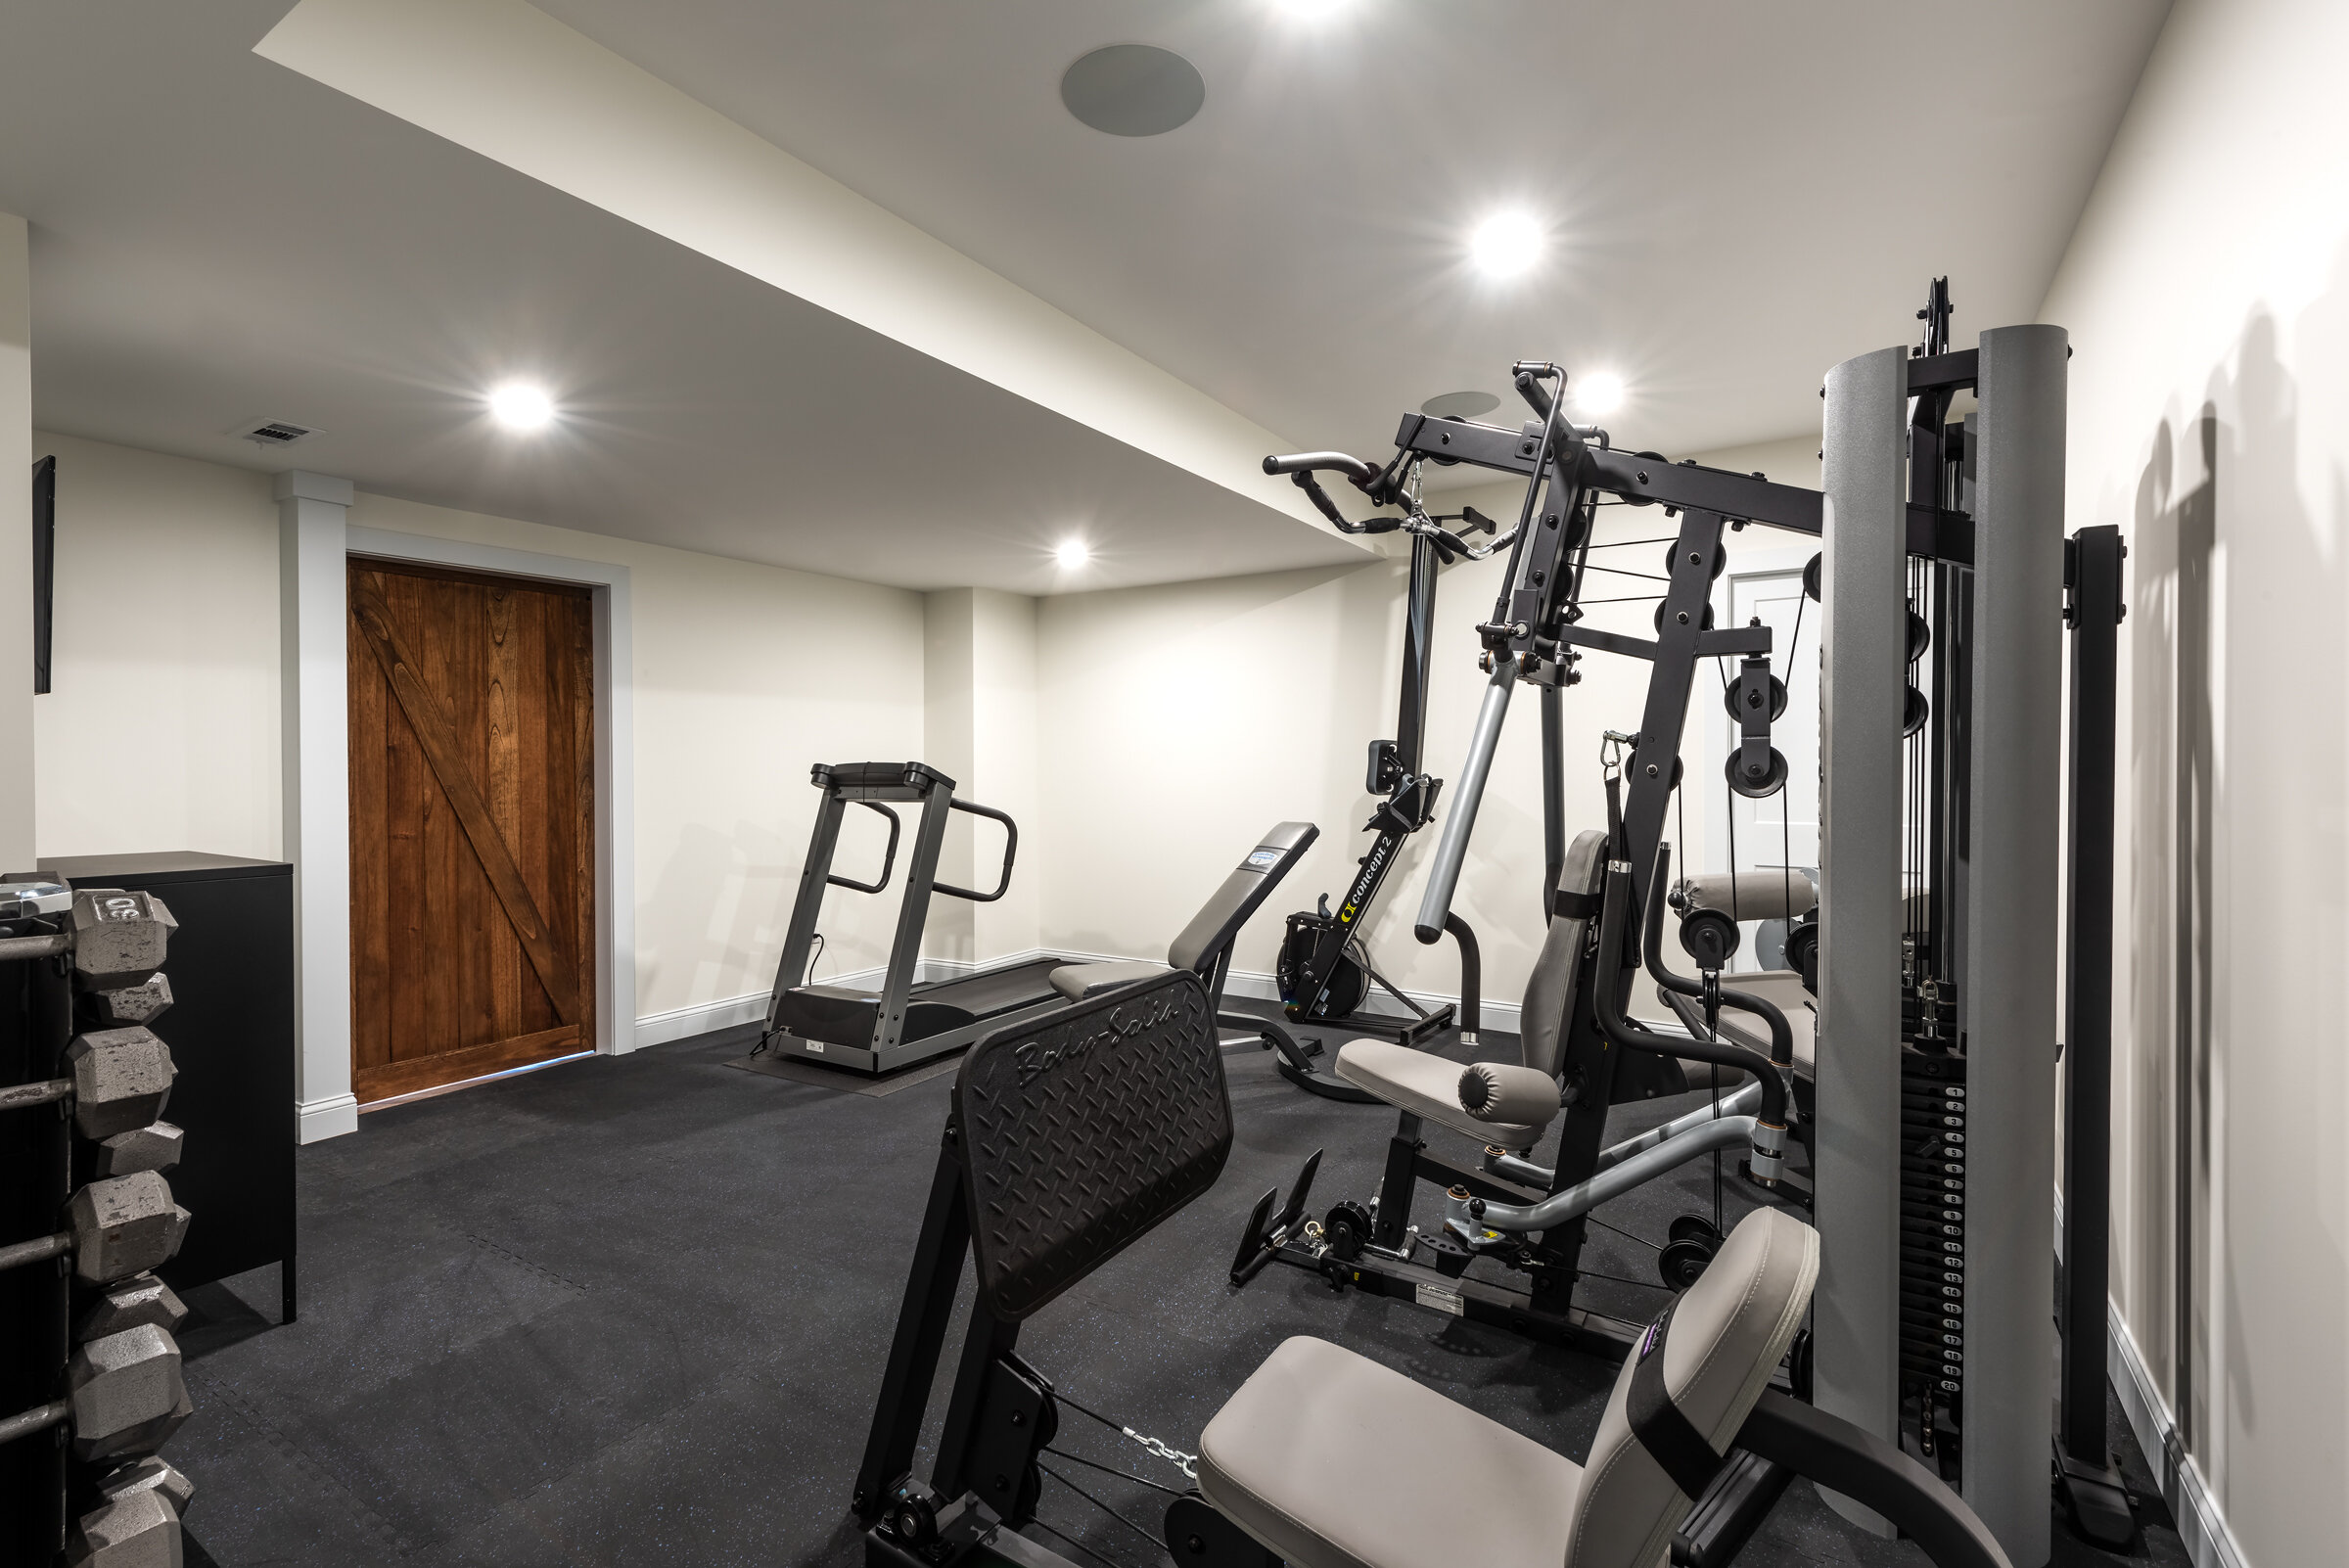
A busy basement family room may benefit from a durable, high-density pad. A bedroom may call for a slightly more cushioned feel. Stairs often require a firmer pad that supports the carpet without excessive flexing at the nosing.
Quality is found in these underlying decisions. The pad disappears after installation, but it influences how the carpet feels and performs every day.
Step 9: Double-Check Every Measurement
Before ordering material, return to each room and verify the dimensions. Compare the physical space with the sketch.
Common Carpet Measuring Mistakes
Frequent errors include:
Measuring only one side of the room
Rounding dimensions down
Forgetting closets
Excluding doorway recesses
Assuming walls are perfectly square
Ignoring carpet roll width
Overlooking pile or pattern direction
Failing to include stairs or landings
Ordering exact square footage with no allowance
Mixing feet, inches, and decimals
Planning seams after the carpet has already been ordered
Another common mistake is measuring only the visible portion of a room. Furniture, built-ins, and stored items can conceal wall offsets or floor areas. Move enough items to confirm the true dimensions.
When Professional Measurements Are Worth It
Professional field measurement is strongly recommended when:
Several rooms are being carpeted
The carpet has a visible pattern
Rooms connect without thresholds
The home has irregular walls
Stairs are included
The selected carpet is expensive
Seam placement is critical
The project is part of a larger remodel
Subfloor repairs may be needed
Carpet transitions into hardwood, tile, or luxury vinyl
A professional installer or design-build contractor can create a carpet seaming diagram and roll layout. This reduces waste while protecting the finished appearance.
For a rough project budget, homeowner measurements are useful. For ordering and installation, verified field dimensions provide much greater confidence.
What Can Affect the Cost of New Carpet?
Material quantity is only one part of the budget. The finished cost depends on the carpet, padding, room configuration, floor preparation, and installation requirements.
Carpet Material and Construction
Carpet cost can vary based on:
Fiber type
Face weight
Density
Twist level
Pattern
Stain resistance
Backing construction
Brand
Warranty
Manufacturing method
Nylon is often valued for durability and resilience. Polyester may provide strong color and softness at a different price point. Wool offers a refined natural appearance but typically requires a larger investment and specialized care.
The most expensive carpet is not automatically the best choice for every room. The material should match the way the space will be used.
A basement media room, for example, may benefit from a carpet that provides softness, acoustic control, and stain resistance. A formal bedroom may place greater emphasis on texture and visual refinement. A stair runner needs durability, dimensional stability, and a pattern or texture that can be installed cleanly across each tread.
Floor Preparation and Repairs
Carpet can conceal the color of a subfloor, but it does not correct structural or surface problems.
Additional preparation may be required when the floor has:
Loose panels
Squeaks
Water damage
Uneven seams
Protruding fasteners
Cracks
Adhesive residue
Moisture concerns
Damaged tack strip
Incompatible old padding
In St. Louis-area basements, moisture evaluation is particularly important. Carpet should not be installed over an active water problem or chronically damp slab. Drainage, foundation, humidity, and vapor conditions need to be addressed first.
A beautiful finish depends on the stability of what lies beneath it.
Installation Details and Room Layout
Installation costs may also be affected by:
Furniture moving
Existing flooring removal
Disposal
Stairs
Pattern matching
Additional seams
Large room dimensions
Custom transitions
Floor vents
Built-ins
Baseboard removal or replacement
Difficult site access
A third-floor bedroom with a narrow staircase presents different handling requirements than a ground-level family room with direct access. These practical details should be considered during planning, not discovered on installation day.
Preparing a Room for Carpet Installation
Accurate measurement tells you how much material is needed. Proper preparation creates the conditions for a clean installation.
Removing Furniture and Existing Flooring
Confirm who will remove furniture, old carpet, padding, tack strips, and flooring debris.
Large furniture may need to be disassembled. Delicate items, electronics, artwork, and personal belongings should be removed before work begins.
When replacing carpet during a larger remodel, sequencing matters. Painting, drywall sanding, heavy carpentry, and other dusty work should generally be completed before the new carpet is installed. Final touch-ups can follow, but the finished flooring should not become a work surface for earlier construction phases.
Inspecting and Preparing the Subfloor
Once the old flooring is removed, inspect the entire subfloor.
Check for:
Movement
Squeaks
Deterioration
Moisture staining
Mold concerns
Uneven joints
High fasteners
Gaps
Crumbling patches
Unwanted odors
Wood subfloors may need screws added to reduce movement. Concrete may require patching or moisture-related evaluation. Pet-damaged areas may need deeper cleaning, sealing, or material replacement.
This inspection is one of the most valuable moments in the process. It is the opportunity to correct hidden conditions before they are covered again.
Planning Transitions and Trim Details
Carpet rarely exists in isolation. It meets tile, hardwood, resilient flooring, stair components, thresholds, and base trim.
Plan each transition carefully. Consider:
Finished flooring heights
Door clearance
Threshold location
Edge protection
Color and material compatibility
Accessibility
Visual alignment
Baseboard condition
A transition strip should not look like an afterthought. Its profile, position, and finish should support the overall design.
During a whole-home renovation, these decisions are coordinated in advance so flooring changes align with doorways, cabinetry, circulation paths, and room proportions.
Professional Carpet Installation in a Remodeling Project
Carpet may be one of the final materials installed, but its success depends on decisions made throughout the project.
Coordinating Carpet With the Rest of the Design
The carpet should relate thoughtfully to:
Wall color
Trim color
Cabinetry
Hardwood tone
Tile
Lighting
Furniture
Room scale
Natural light
Architectural style
A small carpet sample can look very different when installed across an entire room. View samples flat on the floor rather than holding them vertically. Examine them in morning light, evening light, and artificial light.
Consider how the color changes next to nearby materials. A warm gray carpet may appear cooler beside honey-toned oak. A cream carpet may take on a different cast next to bright white trim.
Pile and texture also influence the design. A smooth, tailored carpet creates a different character than a deep, informal texture. Patterned carpet can add definition to stairs or a private study, but the pattern scale should fit the room and the architecture.
Why Craftsmanship Matters Beneath the Finished Surface
The best carpet installations often appear simple because the technical work has been resolved quietly.
That work includes:
Correct measuring
Efficient material layout
Thoughtful seam locations
Proper subfloor repair
Suitable padding
Accurate tack-strip placement
Controlled stretching
Clean edge trimming
Detailed transitions
Careful stair fitting
Improper stretching can lead to ripples. Poor seam placement can make a room feel divided. Inadequate subfloor preparation can leave squeaks or soft areas beneath a new finish.
At Morganco Design Build, we believe finish quality is inseparable from preparation. A polished room is not created by the visible material alone. It is created by the decisions, measurements, and workmanship supporting that material.
To measure for new carpet, begin with a clear room sketch, record the longest and widest dimensions, calculate each section’s square footage, include closets and door recesses, and add material for waste and installation. Then account for the carpet’s actual roll width, pile direction, pattern repeat, and seam placement.
Your measurements can provide a dependable starting point for budgeting and product selection. Before ordering, however, the dimensions should be verified by the installer or contractor responsible for the finished work.
That final verification protects more than the material order. It protects the room’s appearance, the construction schedule, and the investment being made in the home.
A well-designed space deserves an installation planned down to the inch. That is the difference between simply covering a floor and completing a room with the precision it deserves.
Homeowners planning a basement renovation, bedroom update, stair remodel, or larger home transformation can contact Morganco Design Build to discuss how flooring fits into the complete design. Our team serves homeowners throughout the Greater St. Louis area with thoughtful planning, detailed craftsmanship, and the pride of a third-generation builder.